What’s Included:
1x M10 x 1.25mm x 80mm
3x M10 x 1.25mm x 35mm
4x Flat Washers
4x Spring Washers
Tools Required:
- 17mm Socket
- 16mm Socket
- 16mm Spanner (ratchet spanner recommended)
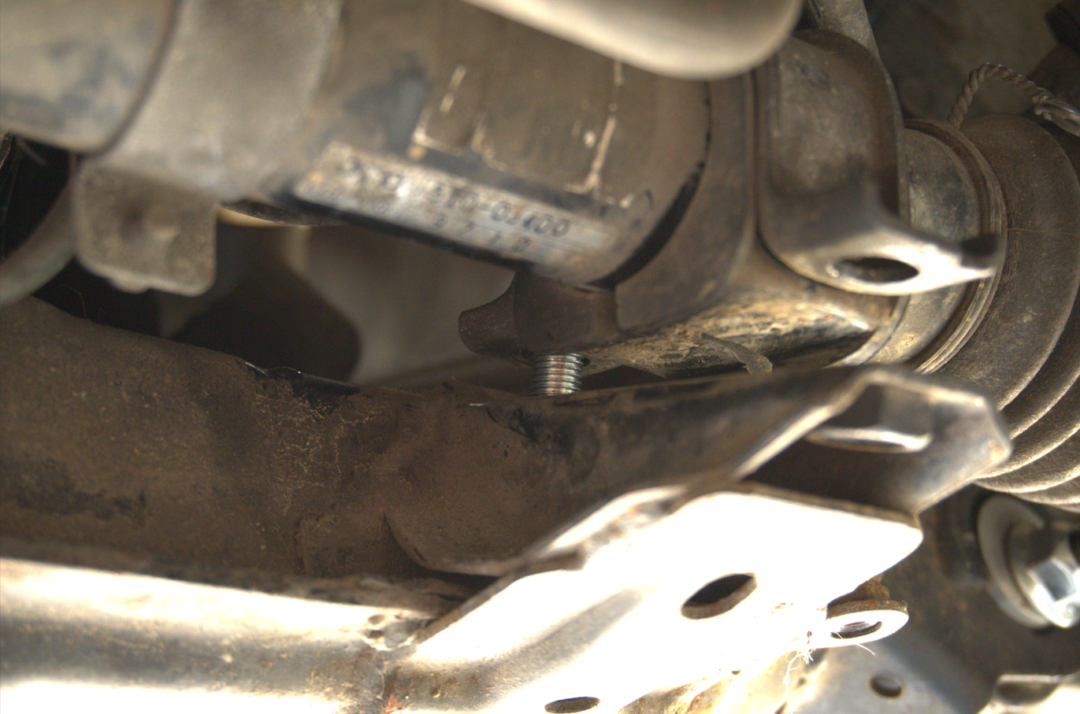
Step One: Remove OEM Bolts
Located on the steering rack are two D-clamps, which house rubber bushes for the steering assembly. Each D-clamp has two 14mm hex-head bolts that you will need to remove in order to raise the steering rack.
Step Two: Install Rear Long Bolt
On the left side (facing forwards), underneath the A/C compressor, we redesigned this component to make installing this component much quicker and easier, particularly if you have a 16mm ratchet spanner. Slip the flat washer and the 55mm spacer sleeve onto the long bolt. Start the thread (maybe two to three threads max), then slip in the steering rack spacer.
Step Three: Install Rear Short Bolt
The remaining three bolts are all the same length, and all use both a flat washer and a spring washer (both are supplied with this kit). First, slip on the spring washer, then the flat washer. We recommend starting the rear short bolt, again, only start the thread to allow enough space to slip in the steering rack spacer.
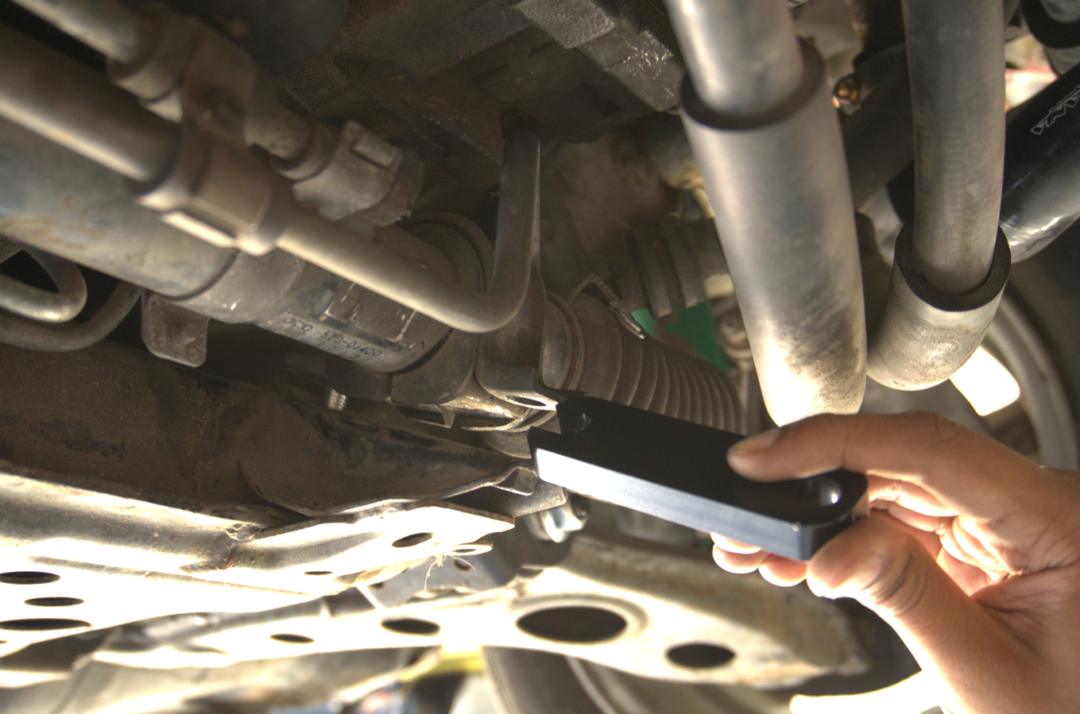
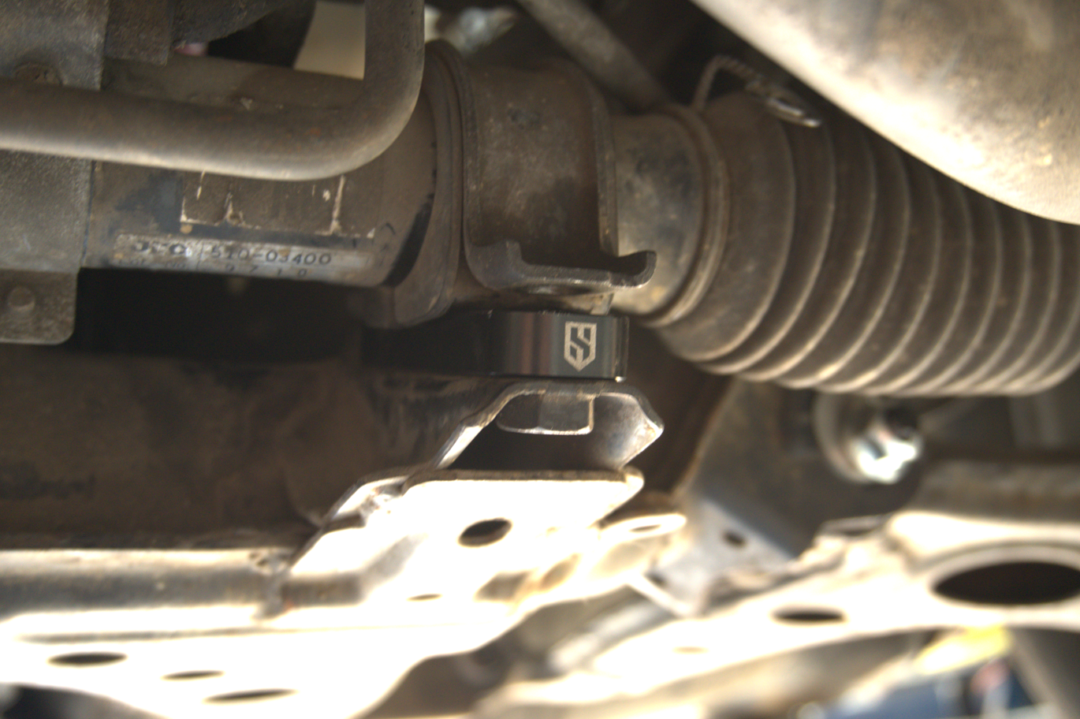
Step Four: Install Spacers
After both rear bolts have been started, slip on the steering-rack-spacers underneath the D-clamp and bushing. The slot at the rear should leave some room to adjust back and forward to help align the front bolts.
Step Five: Install Front Bolts
There are two 16mm hex-head front bolts remaining, in the following order: slip on one spring washer, then one flat washer per bolt, then install them onto the front D-clamps.

Front Bolts Installed
Step Six: Tighten And Torque The Bolts
Assuming you’ve started the threads on all four of the bolts, tighten them down evenly, and torque them to 25-30 Ft/lbs (33-40Nm).

