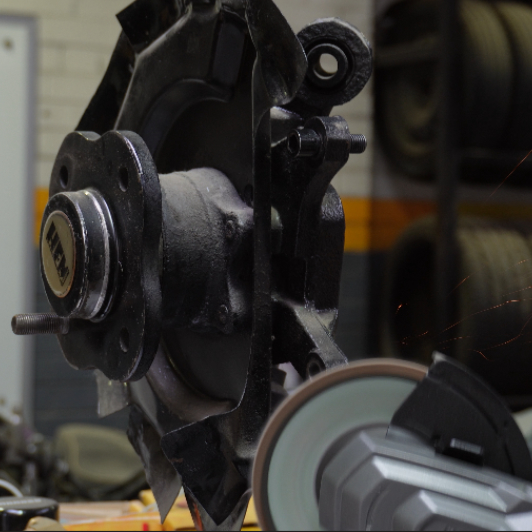
- Please note: As you are increasing the rotor size from OEM, you will need to splice, cut or remove your vehicle’s backing plate.
- Start by determining the left and right-hand side adaptors by checking the part numbers as follows: SR340BREM-R & SR340BREM-L
- Check you have the following bolts supplied in the bolt kit:
4x Custom Shoulder Bolts (M10 x 1.25 x 30mm)
4x Hex Head Bolts (M12 x 1.75 x 45mm)
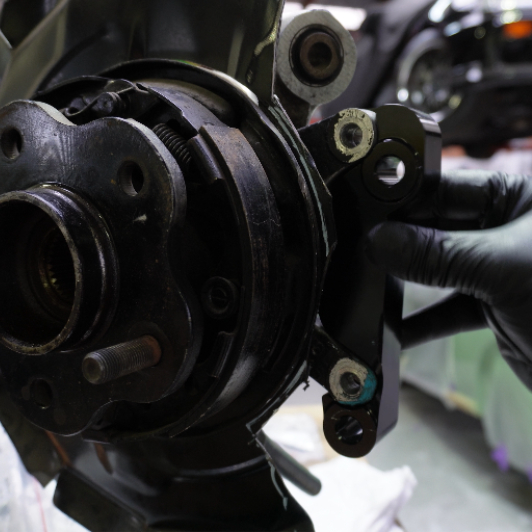
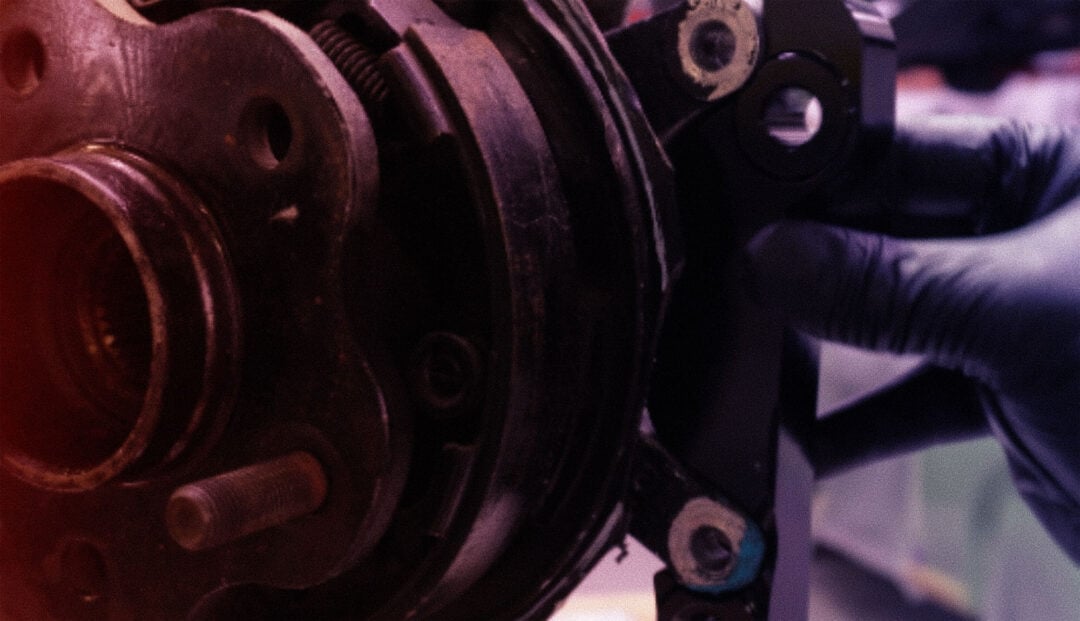
4x Flat Washers (M12mm) - Beginning on either the left or right-hand side of your car, take the matching adaptor and install it to the inside of the knuckle using 2x custom shoulder bolts. Do not torque the bolts just yet, as the adaptor must be removed again.
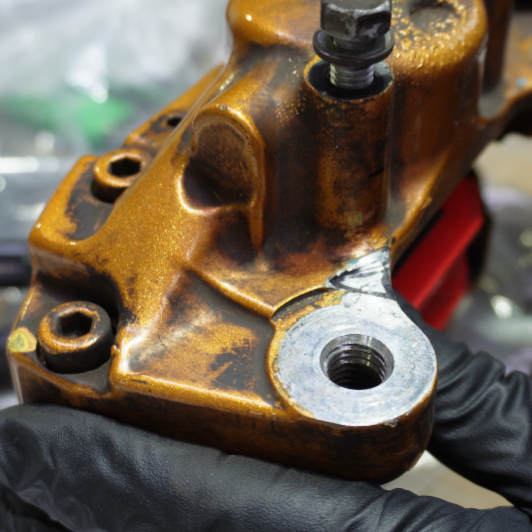
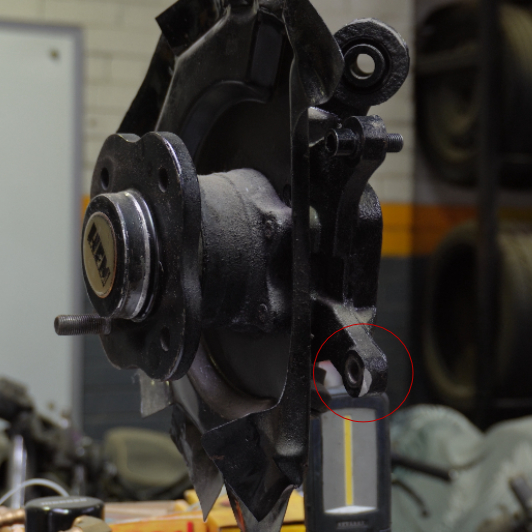
- With your caliper and the supplied hex head bolts, insert the bolt into the bottom hole first. Do not fully tighten this bolt, as the caliper will need to freely swing up into position. At this point, you may notice that the caliper is binding with the knuckle. To fix this, you’ll need to gradually grind the caliper and knuckle in small increments until the top hole lines up, allowing you to insert the other hex head bolt. You may like to remove the adaptor while you are grinding as there may be some “back and forth” as you test fit the caliper.
- Once you are happy that both holes are properly aligned, you can remove the caliper from the adaptor and the adaptor from the knuckle.
- Re-install the adaptor by applying LocTite (or equivalent) to the custom shoulder bolts and insert them. Torque these bolts to 28-38 ft lbs or 38-52 Nm.
- Now it’s time to install your new HFM.Parts 340mm Rotor. Clean your hub face using appropriate methods and tools, such as a wire brush, scraper and brake cleaner, to remove any existing rust, corrosion or dust. This will prevent any rotor runout.
- Then, clean the surface of the new rotor from its protective lubricants and install the rotor to the hub using just one wheel nut to help hold it in position.
- Finish by Installing the caliper using the supplied hex head bolts and washers and torque to 28-38 ft lbs or 38-52 Nm.