Introduction
This guide outlines the unique steps to install the MXWIL280 Big Brake Upgrade kit for your NA or NB MX-5 (Miata). Note that if you’re putting these rotors onto your ND MX-5, the rotors are a direct swap, so these instructions won’t apply.
Tools Required
- Flathead Screwdriver
- Chisel
- Hammer
- Breaker Bar or Impact Gun
- 28mm Socket
- 12mm Socket
- Torque Wrench
- 14mm Socket
- Side Cutters
Installation Steps
Step 1: Remove Existing Components
- Lift the vehicle and remove the front wheels.
- Detach the brake calliper and remove the brake rotor from the front knuckle.
- Use Side Cutters to remove the clip, securing the brake line at the bracket, then disconnect the brake line.

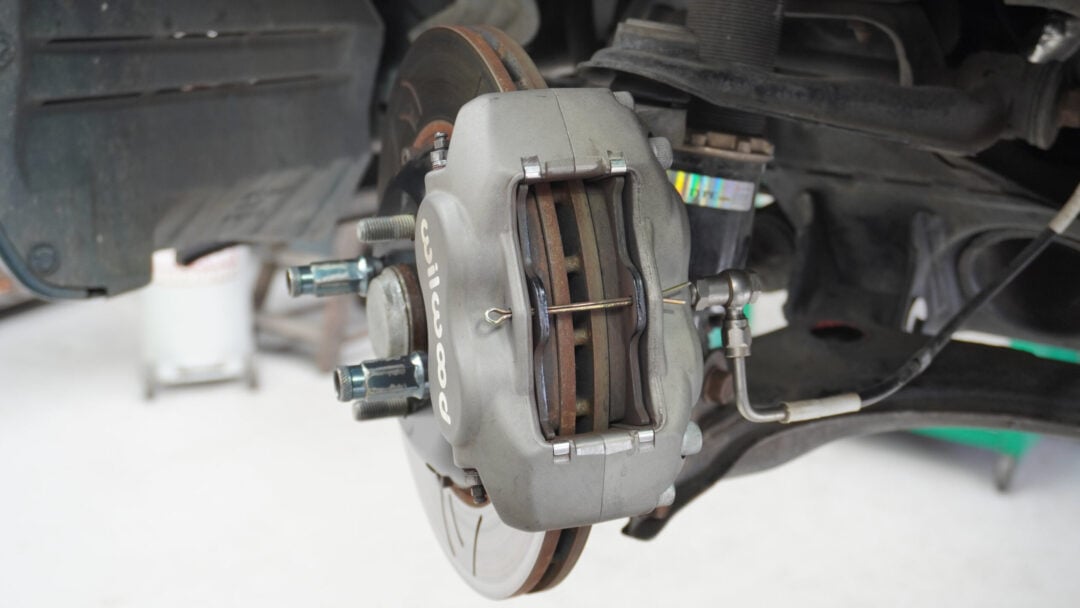
Once completed, your knuckle should look like this (excluding the brake line).
Step 2: Remove the Hub
- Carefully remove the axle/hub bolt cap by gently prying it open with a chisel and light hammer taps.
- Use a chisel and hammer to release the locking sleeve on the axle bolt.
- Use a breaker bar or impact gun with a 28mm socket to remove the axle/hub bolt.
- Once the bolt is removed, the hub should come off easily.

Step 3: Remove the Backing Plate
- Remove the three 12mm bolts securing the backing plate/dust shield.
- Discard the backing plate, as it will not be reused.

Step 4: Reinstall the Hub
- Reinstall the hub onto the spindle.
- Secure the hub with the axle/hub nut, torquing it to 167-216Nm (123-159 ft/lbs).
Step 5: Install the Brake Caliper Bracket
- Position the calliper bracket so the logo faces the inside of the vehicle.
- Secure it using the OEM bolts, torquing them to 60Nm (45 ft/lbs).


Step 6: Install the Brake Rotor
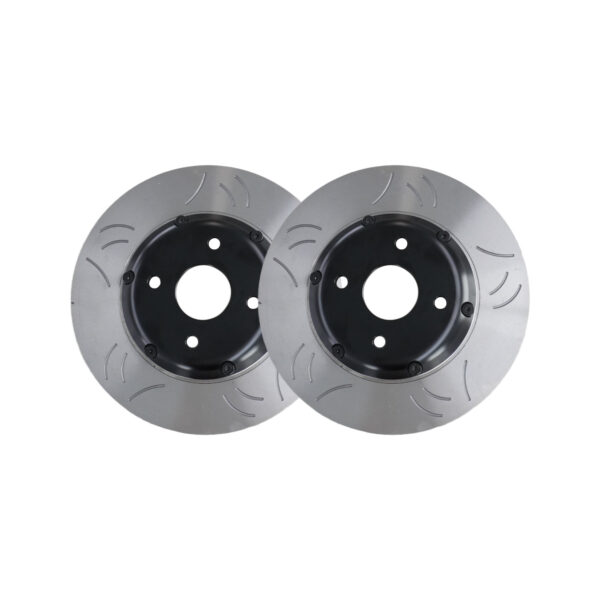
- Place the HFM.Parts rotor onto the hub.
- Use the lug nuts to temporarily hold the rotor in place to ensure proper alignment.

Step 7: Install the Wilwood Brake Caliper
- Assemble the bolts in the following order: spring washer first, then the regular washer.
- Attach the calliper to the bracket and torque the bolts to 60Nm (45 ft/lbs).


Step 8: Install the Brake Line
- Pre-installation of the brake line is recommended, but it can also be done after mounting the calliper.
- Important! Before fitting the brake line there are 2x male/female stainless fittings that need to be fit to the Wilwood Caliper. These should be installed using Loctite 262 Thread Sealant (or equivalent) to both calipers first. Once done, try not to disturb the male/female fitting while connecting the brake line to it. As a guide, the RH brake line should point to roughly 6 o’clock, and the LH brake line should point to around 6 o’clock.
- Ensure two copper washers are installed—one on each side of the banjo brake fitting.
- Position the brake line to avoid any contact with moving components. For best results, orient the fitting parallel to the top face of the calliper and brake pads.
- Secure the other end of the brake line back into the bracket.

")
Brake Pad Assembly
Wilwood Caliper Brake Fittings
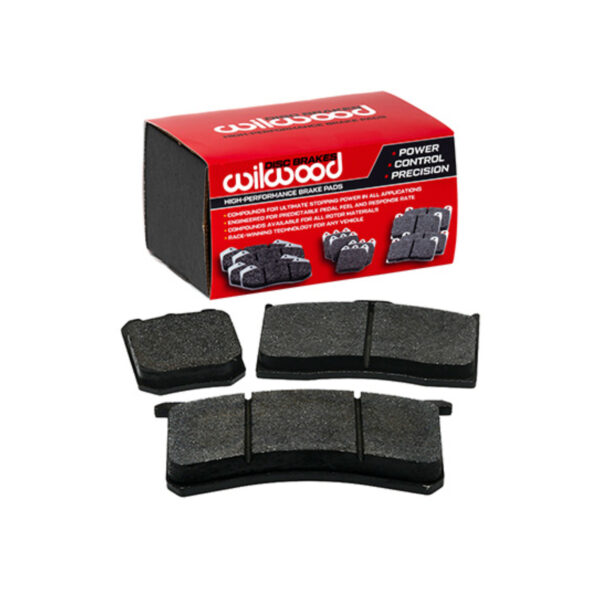
Step 9: Install the Brake Pads
- Slide the brake pads into place.
- Insert the split pin and spread the ends apart to secure it.
Final Checks
- Double-check all bolts and fittings for tightness.
- Ensure the brake lines are not rubbing against any components.
- Bleed the brakes to remove air from the system.
- Reinstall the wheels and lower the vehicle.
- Perform a test drive at low speeds to verify proper braking function.
Haven’t Got Yours Yet?
-
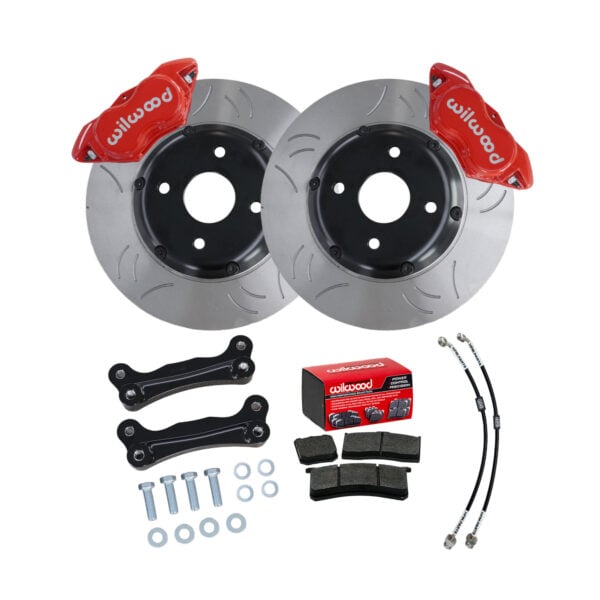
280mm Front Two Piece Rotor Kit for MX-5 NA, NB
From: $1,631.00 AUD -
280mm Two Piece Front Rotors to suit Mazda MX-5 ND
$529.00 AUD -
Wilwood Front Brake Pad Set Suits Caliper 120-13839
Price range: $155.00 through $275.00 AUD

